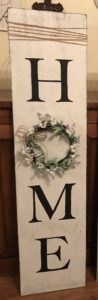
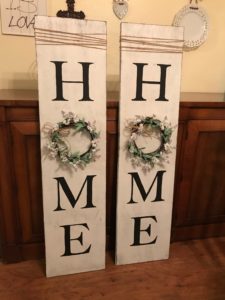
Lately, I’ve seen so many cute porch signs at festivals and on Pinterest but they cost a fortune! So, I decided I could make one myself for a lot less. Turns out you can make them for about $35.00. Here is how to make a cheap and easy DIY “HOME” porch sign.
My sister in law was coming for a visit. I hit the jack pot in sister in laws. My hubby’s sister, Joan came from Tennessee to visit and I wanted to surprise her with something special because she is so special to me. So, I made a sign for her, also.
Here is what I used to DIY (2) cheap and easy “HOME” porch signs.
How to DIY a Cheap and Easy “HOME” Porch Sign
You will need:
*(1) 2′ x 4′ piece of plywood – $15.00 which made two boards. I bought mine at Lowe’s
*A power saw or a husband who has one
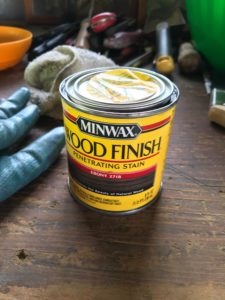
*1/2 pint of Min Wax Ebony stain – $5.00 (get it HERE) or any dark stain you may have
*A brush for stain like this
*White exterior paint – $10.00 (find it HERE)
*Fine grit sand paper (get it HERE)
*Graphite paper (get it HERE)
*Black acrylic paint (Like THIS) or use a paint pen (find it HERE)
*(2) small grapevine wreaths and (3) stems of flowers from Dollar tree for two signs – $5.00
*Hot glue (like THIS) and E6000 glue (get it HERE)
*Jute to give a finishing touch (find it HERE) – I had some leftover from my daughter’s wedding
DIRECTIONS:
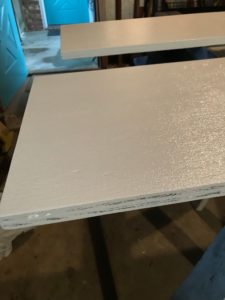
1. My hubby cut the 2′ x 4′ board in half lengthwise so I have (2) 12″ x 4′ boards. He’s pretty handy to have around! Then, he put both boards up on saw horses to make it easier to work on them because I’m a buttercup and he spoils me. Sorry, I didn’t think to take a picture of the board before but here is what we will make.
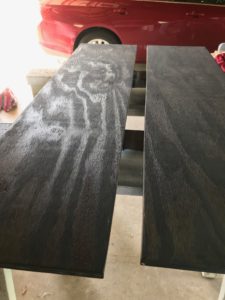
2. Stain the boards with a brush. You can get one here if you do not have one. I used Min Wax ebony stain. Get it here. After staining them, wipe off excess stain with an old cloth and let dry.
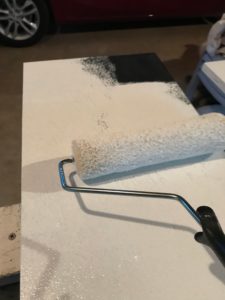
3. After letting the stain dry overnight, paint the front and sides of the boards with any white exterior paint or you can find some HERE. I didn’t use a paint pan or anything fancy. Just pour some paint on the board and roll it out.
4. Next, sand the board to make it look weathered. The normal places for most wear would be around the edges and corners so sand those areas more heavily. Lightly sand the rest of the board. I had some sand paper but if you don’t, you can get it here.
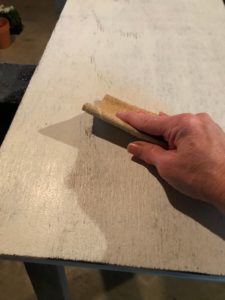
Here are the boards before I painted the letters. Pardon the rain sounds in the background and my little dog Neely’s photo bomb. She was keeping me company while I painted. I thought you might like to see before I painted the letters.
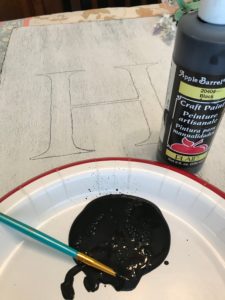
5. Now for the fun part! You will need to print your letters off from a computer. I used Microsoft Word to print mine. There is a template below for the letters I used. You can download those and print them off to make it easier.
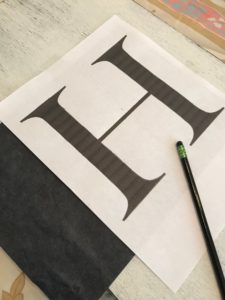
A word of caution…Those little pointy things on the end of each letter are “serifs”. They make it much more difficult to paint. It might be easier to use a font that is “sans serif” which means no pointy things. Lol.
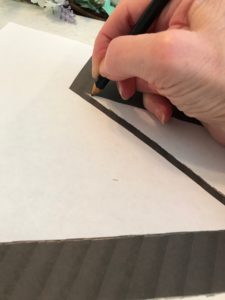
6. Lay out your letters the way you want them. I measured and found the center then laid them out evenly because I’m OCD like that. However, it is a handmade item so it doesn’t need to be perfect.
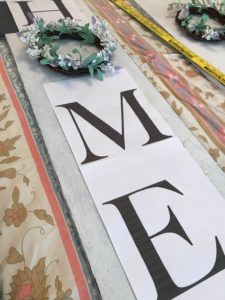
This is how crazy I am… see how the “E” is off center on the paper? I traced it like that and it drove me nuts so I painted over it, sanded it and centered it on the board. That is the beauty of paint. You can always paint over it and redo it. So, don’t stress over mistakes.
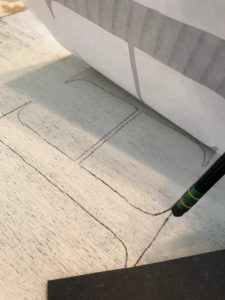
7. Tape the letters in place. Slide the graphite paper under the paper with the dark, shiny surface down. Trace the letters with a pencil. Find Graphite paper HERE.
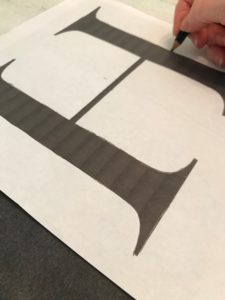
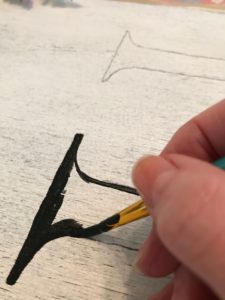
8. After all the letters are traced. Remove paper. Paint the letters with a round brush and black acrylic paint (like THIS) or a paint pen (find it HERE).
9. Decorate your wreath, then find the center of your board. Use hot glue (like THIS) and a super glue (like THIS) to hold it to the board. The hot glue will set quickly to hold it until the E6000 dries.
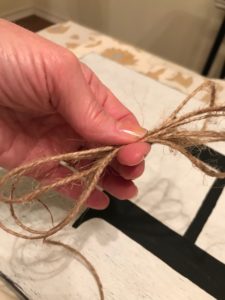
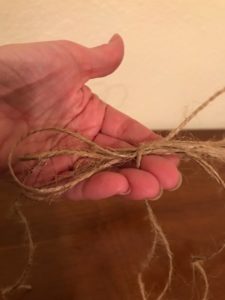
10. Then I made a simple bow by looping the jute around my fingers and tying it with about a 8 inch piece of jute. Glue this little bow a little off center on your wreath.
11. Measure from the top of the board to the top of the “H” and find the center. On the back of the board, glue the end of the jute to this center mark. Wrap it around the board several times then glue the end of the jute down on back.
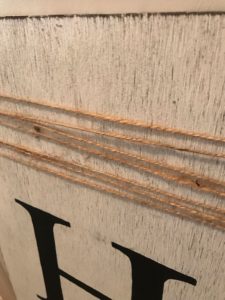
Hope you enjoy this little project. I know it’s different from my other posts. I’ve had fun working on my house lately. I’m planning to show more of my DIY updates in the future if you like this one.
Just so you know it is still me, here is a scripture God brought to mind while working on this HOME sign…
2 Corinthians 5:1-5 (ESV)
Our Heavenly Dwelling
5 For we know that if the tent that is our earthly home is destroyed, we have a building from God, a house not made with hands, eternal in the heavens. 2 For in this tent we groan, longing to put on our heavenly dwelling, 3 if indeed by putting it on we may not be found naked. 4 For while we are still in this tent, we groan, being burdened—not that we would be unclothed, but that we would be further clothed, so that what is mortal may be swallowed up by life. 5 He who has prepared us for this very thing is God, who has given us the Spirit as a guarantee.
Verse 5 is talking about our bodies being our earthly home. Even though I’m so thankful for this wonderful life I live, this is not my true home. I long for my Heavenly home. Whether you are aware of it or not, we all have that longing for God.
We will never be completely satisfied until we are at home with Christ. God created us to long for a relationship with our Him. Because He is a Gracious God and He loves us so, He made a way for us to have a relationship with Him through faith in His Son, Jesus.
If you have never asked Jesus to be your personal Savior and would like to know more, I would love to talk to you about it.
Email me at shawna@streamspouredout.com.
Hope you enjoy making this little DIY project!
Love,

[wpdm_package id=’1594′]